Workspaces
Most homework assignments, labs, and exams will use Prairie Learn's (PL) VS Code Workspaces. They are a way to compile and run code in an online environment similar to what you would do locally on your computer.
Below is a quick tutorial on how to use VS Code Workspaces on PL.
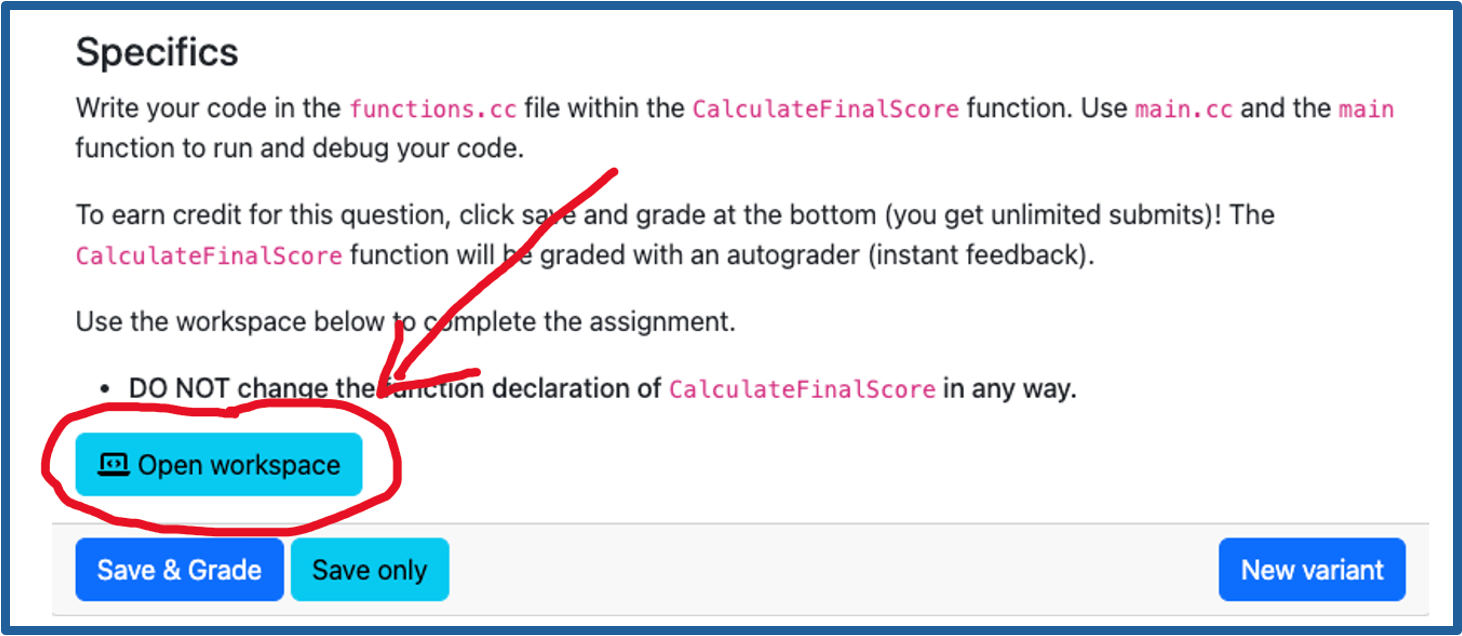
First, open up the workspace by pressing the "Open workspace" button on the PL question.
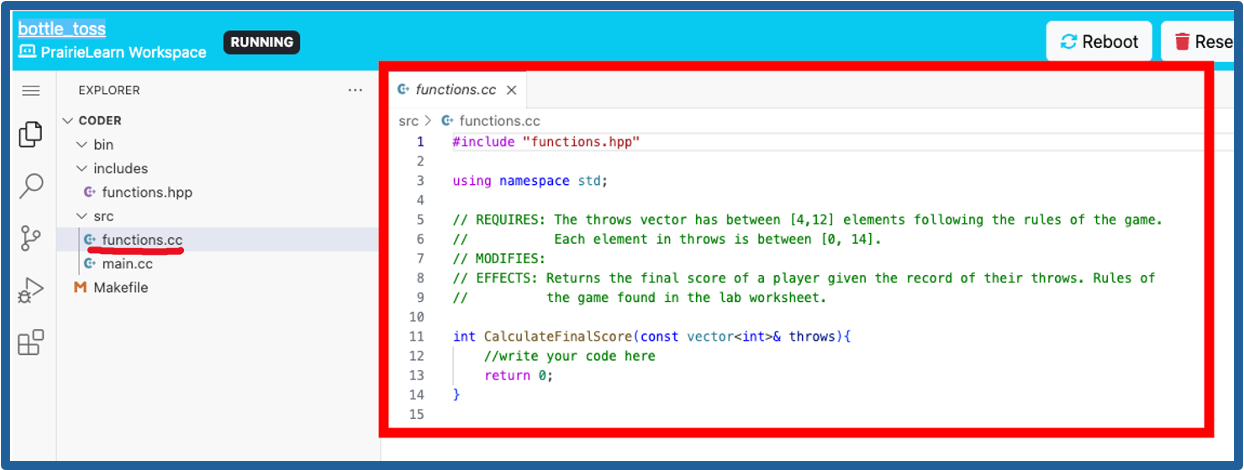
This will load (slowly) the workspace. When it is completely loaded it will look something like this,
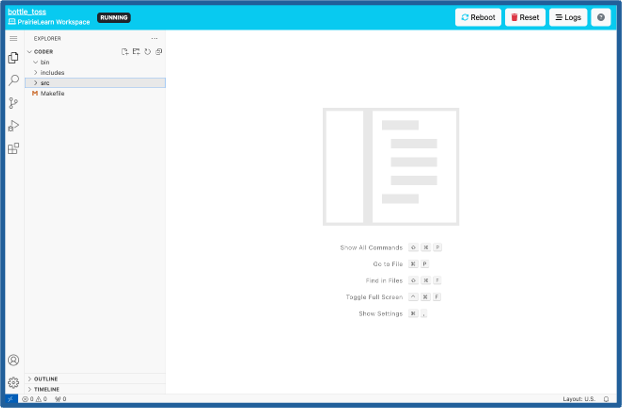
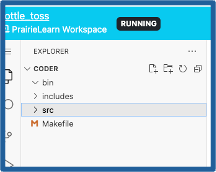
On the left there are the directories (folders) and files you will need and have access to for this question. In this case, there are three directories, bin, includes, and src and one file called Makefile.
If you expand the directory (by clicking its name) you see the directories and files it contains. In this case, I clicked on src and then on the file named functions.cc. This opened functions.cc on the right.
C++ code is often broken up in header and source files. A header file will have class and function declarations (their name, return type, and parameters) while a source file will have their implementations (body/code). We will get into the details of why this is and how to compile C++ code later in the class.
The important takeaways are,
- The includes directory has the header files. These are useful to look at to get a big picture idea of what functions you have and will need to write.
- The src directory has the source files. This will include a file with a main function and other files where you will write your code.
- The bin directory is where the computer will put the executable once it has compiled your code.
C++ code needs to be compiled into an executable and then run as two separate steps. To make compiling your code easy we have provided a Makefile that allows you to run specific commands to easily compile your program.
Let's walk through this step by step.
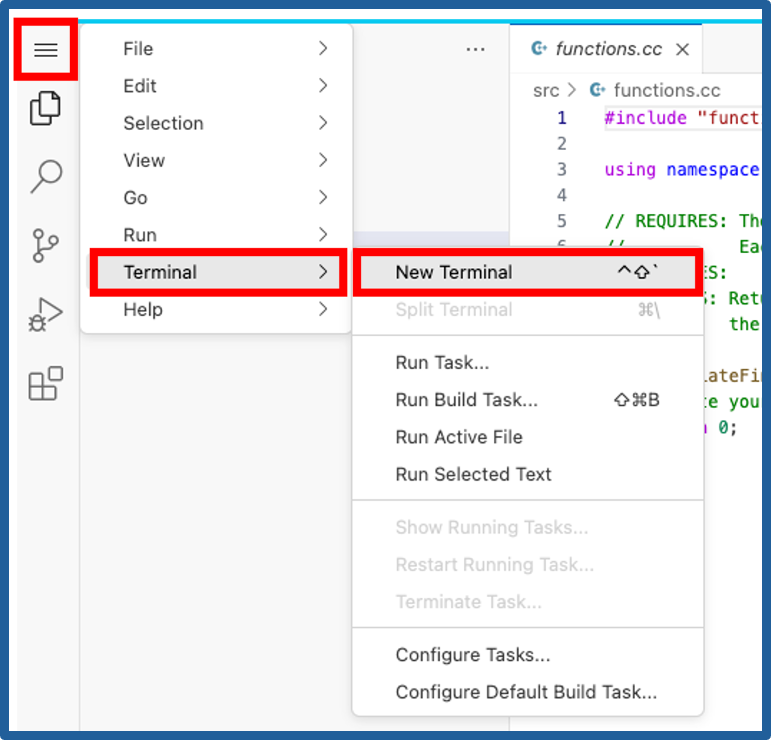
First you need to open a terminal window. This will allow you to interact with the system that can compile and run your code.
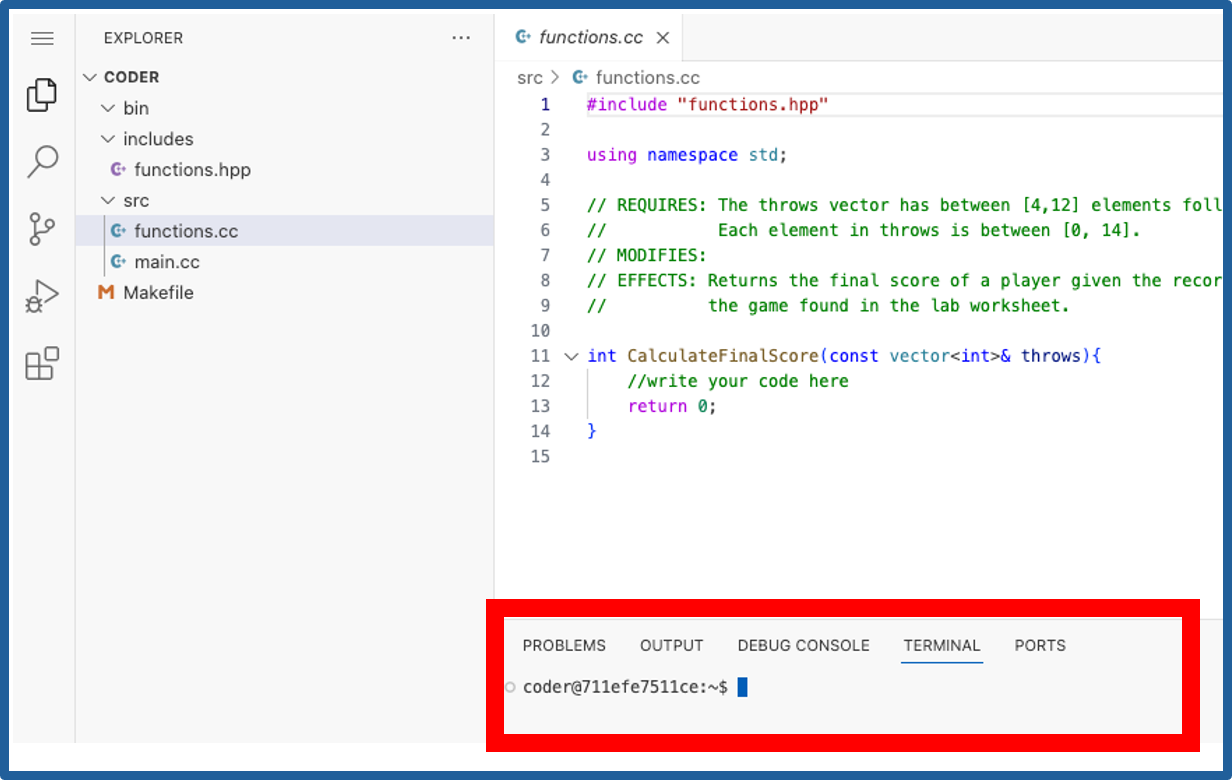
This will open up a terminal window on the bottom underneath your files. The "coder@711efe7511ce:~ $ " Indicates the terminal is ready for another written command.
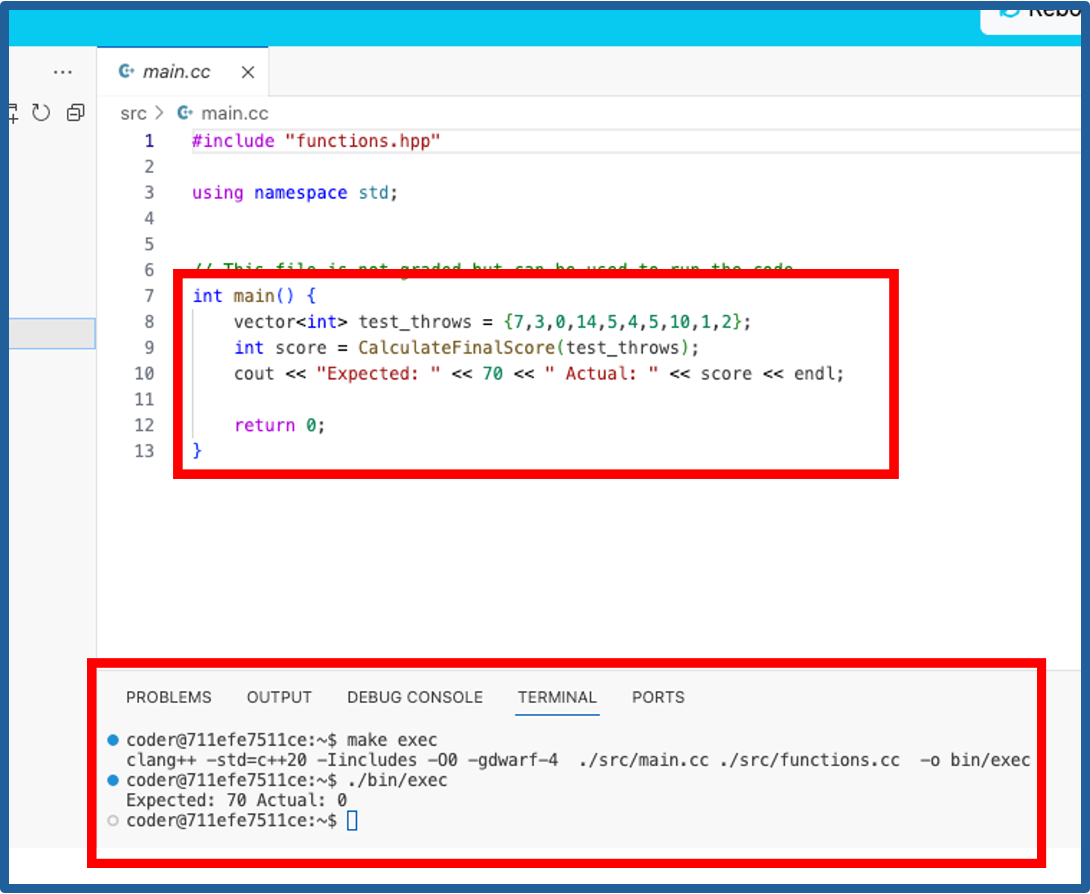
To compile your code you will need to type, make exec followed by the enter key. This will run the compilation command.
Next, to run your code, you will type ./bin/exec followed by the enter key. This will actually run the executable you just created. Any cout statements will print to the terminal and any cin statements will wait for you to type into the terminal a response.
You know the program is finished running because "coder@711efe7511ce:~ $ " has appeared again.
For assignments and exams I recommend writing code and running it through the terminal on the VS code workspace as described before submitting to the autograder. This will tell you instantly if it compiles as well as if it produced the expected output. Remember when a C++ program runs it just executes the code in the main() function. To test your code in the workspace you will most likely need to edit the main() function to call the code you want to check. I will usually provide such an example to go off of.
Every time you make changes to the code you need to run the compilation command again (make exec) before running the executable (./bin/exec)
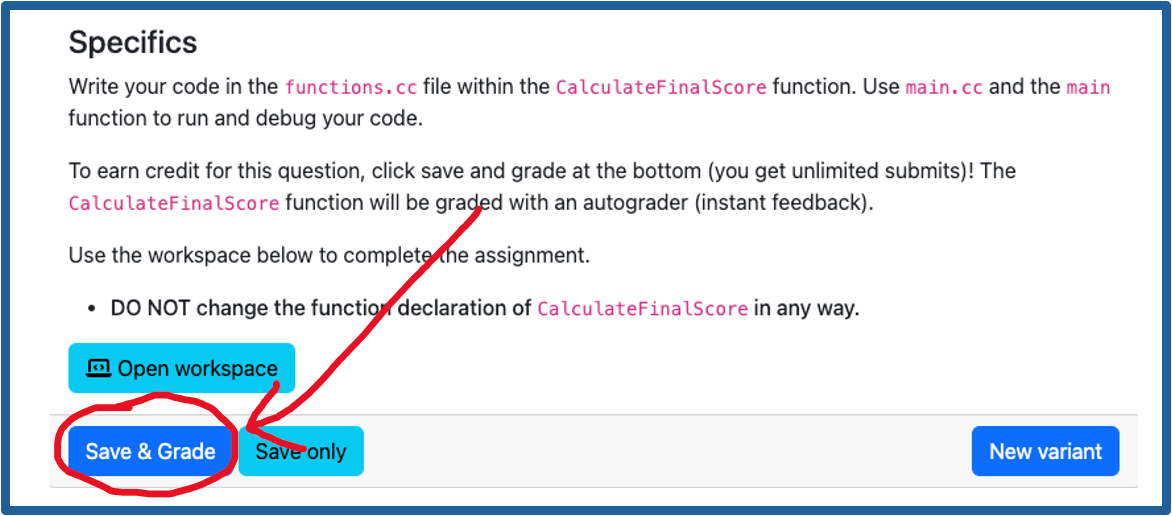
Once your code is working as you'd like in the workspace, submit on the autograder. To do this, go back to the PL question tab and hit save and grade like normal. This will pull down the files you just wrote from the workspace into the autograder. The autograder will then give you feedback as normal.